Create a New Sequence
Sumario: Learn how to create and set up a new sequence
Automation has become an indispensable tool for maintaining effective communication with your clients. One of the most powerful functions in this area is the “Sequence,” a system that allows you to send a series of predefined messages to your subscribers automatically and personally.
With sequences, you can keep your clients’ interest, as well as foster engagement with your brand. These sequences will be active 24 hours a day, 7 days a week. They will reach the audience you choose in the settings, and you will send the message you want.
How to set up a “Sequence”?
Setting up a new Sequence is quite simple. By mastering this function, you will be maximizing the potential of our platform, optimizing your time and resources while building stronger relationships with your audience. Let’s explore how you can create and configure your own Sequence to drive your business growth.
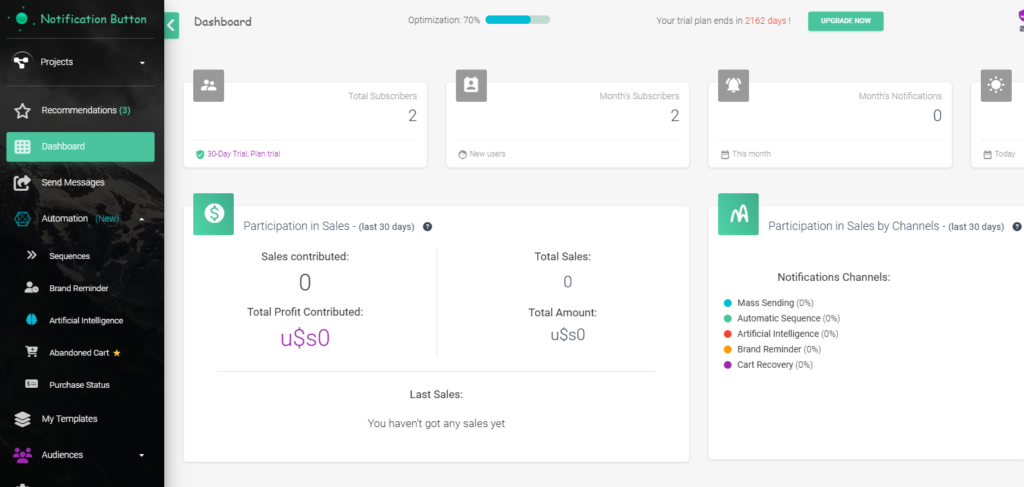
- Navigate to the main screen of our platform.
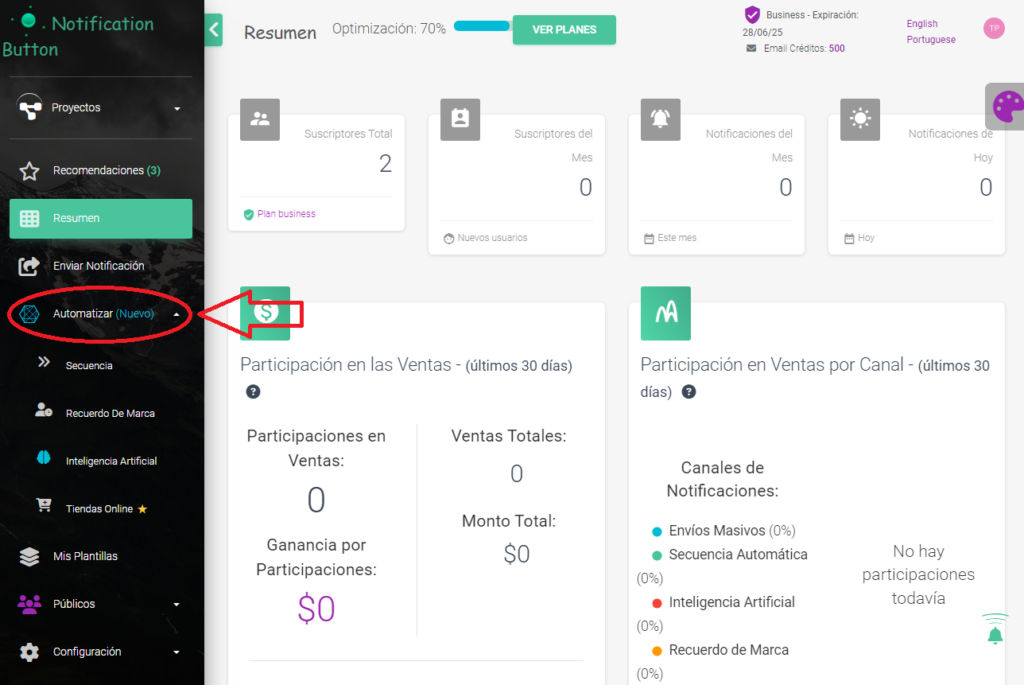
- On the left side menu, click on “Automation“.
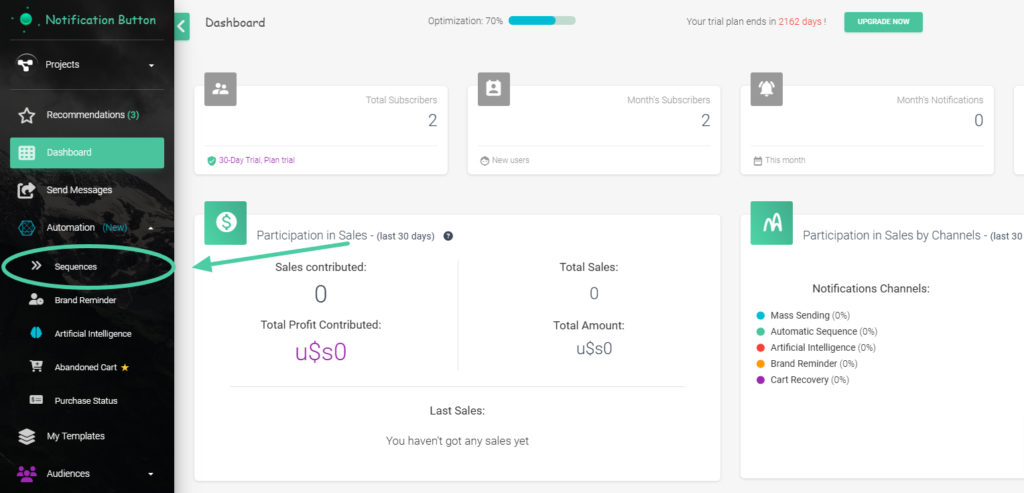
- A new sub-menu will open under “Automation”. Look for and click on “Sequences”.
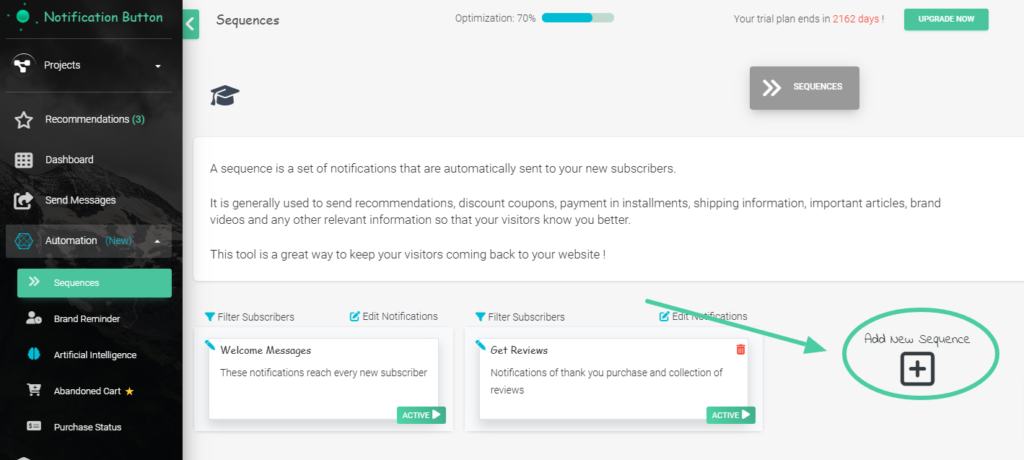
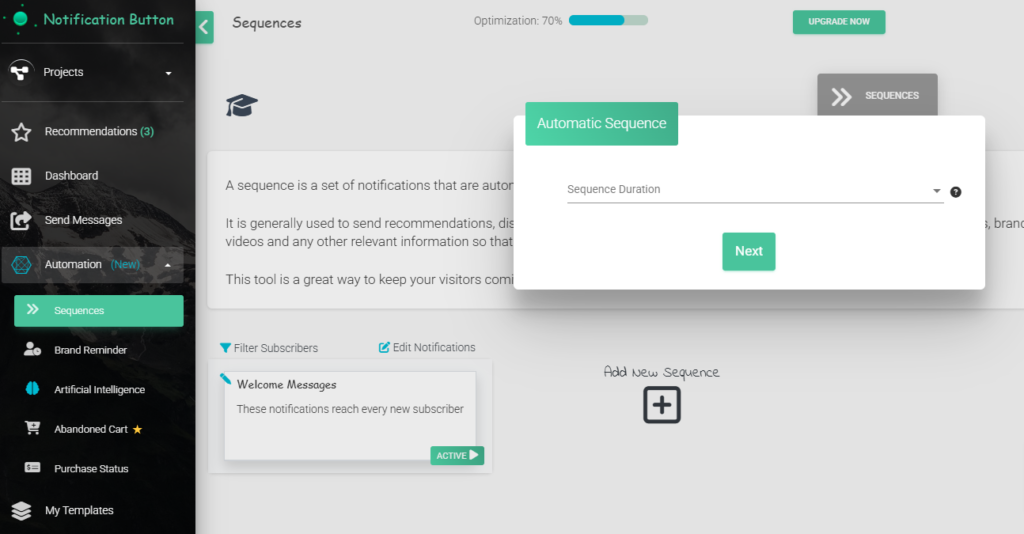
- “Sequence” Section will show up. You will be able to see the two sequences that are set up automatically: “Welcome Messages” and “Get Reviews”.
- Click on “Add new Sequence”.
Sequence Duration
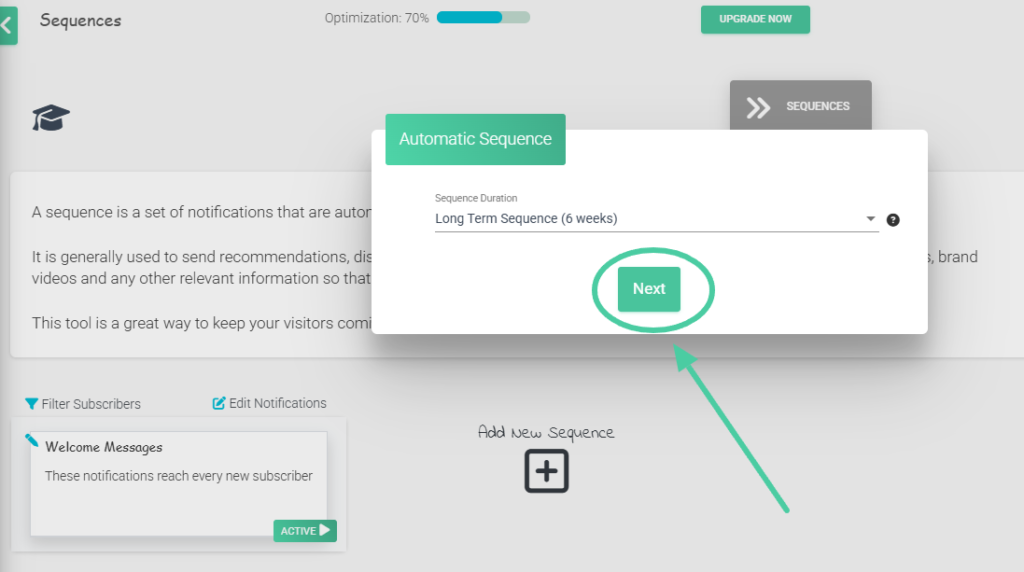
- A pop-up window will appear where you will begin the setup of the new sequence. The first thing to set up is the “Sequence Duration” You can choose between three options: Short, Medium, and Long Term. For our example, we select “Long Term (6 weeks)”.
- Then click the green button “Next”.
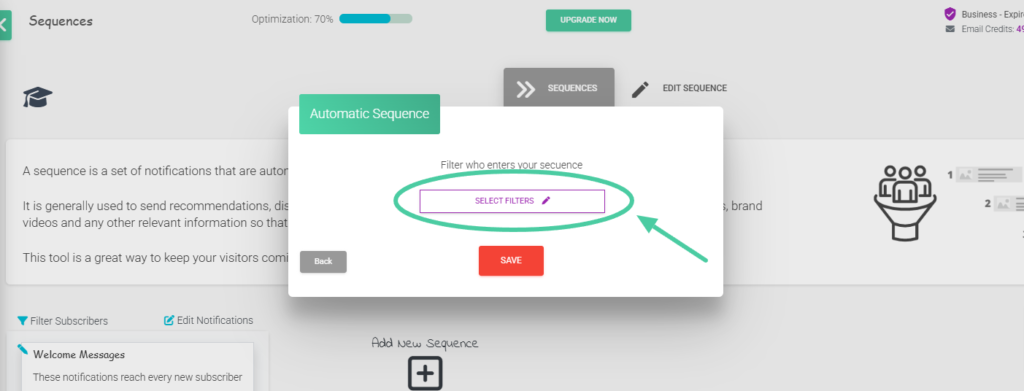
Filter Recipients
- Then comes the filter to select who you will send the sequence to. Click the button “Select filters”.
- A window will open where we will add the filters to segment our audience. Click the “+” button below Add “Or” Condition.
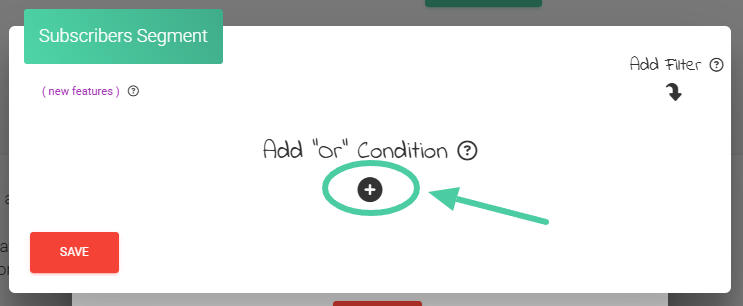
- Three rows appear. Click on the first one, under “Filter Type“, and a dropdown list will open. For our example, we will select “City“. In the second row of “Condition“, we select “contains“.
- In the third line of the “Word or Phrase” we will add “Buenos Aires“.
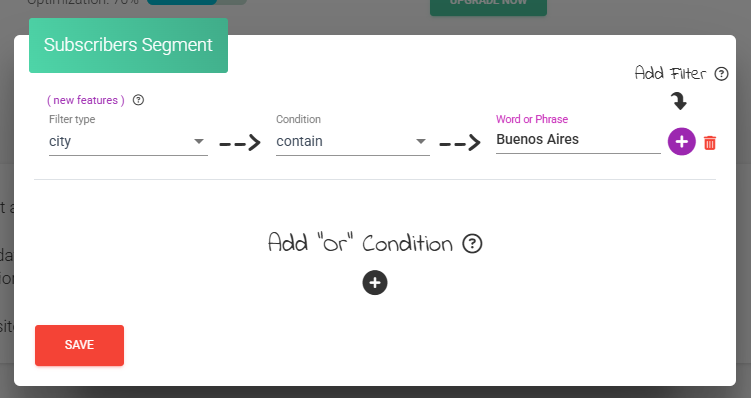
- Then click the red button “Save“. Done, you have created a sequence for your specific audience in Buenos Aires.
- In the next step, you can configure the messages of your newly created sequence. We have a post dedicated to this step; we recommend reading it: “How to set up messages within the sequence“.
You can create all the sequences you need on our platform, with the filters you consider relevant to your business and the number of messages you deem necessary. It is very easy and intuitive.


