
Custom footers and headers for Emails
The emails you send to your customers are an extension of your brand. Now you can completely personalize them on our platform. With the new header and footer options, every automated message will have a professional design that’s consistent with your visual identity.
Also, including links to your social media directly in the email footer increases engagement and gives customers more options to connect with you. I’ll explain what you should do to take advantage of this feature.
Where do I set up the header and footer?
To customize these elements of your email, you can do so with these simple steps:
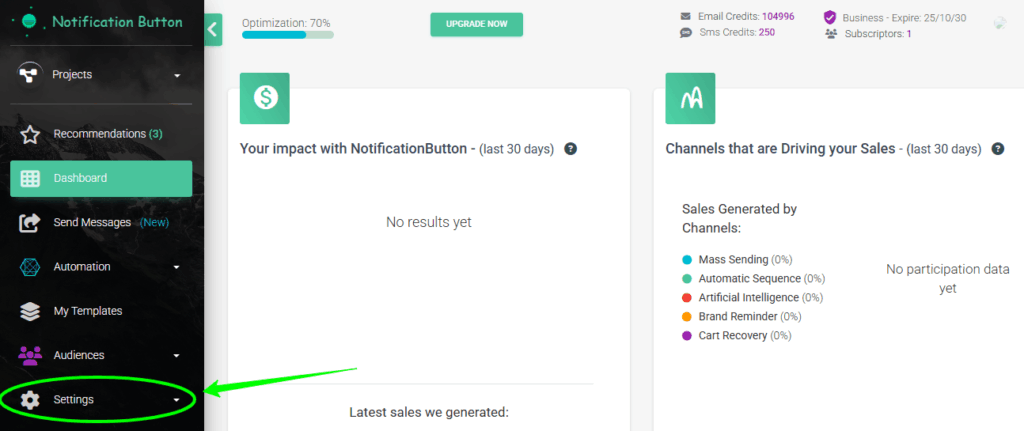
- Go to our platform and locate yourself on the main screen.
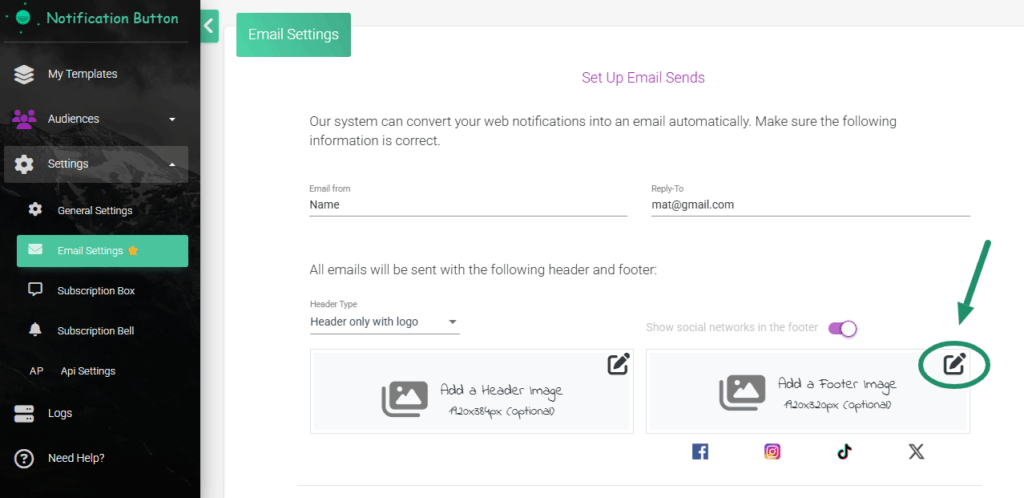
- In the left menu, select “Settings“.
- Then select “Email Settings“.
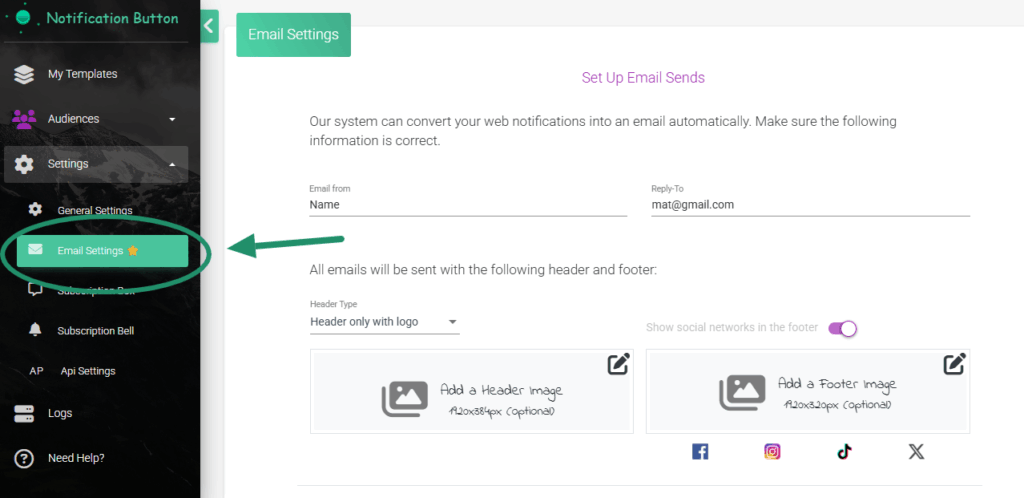
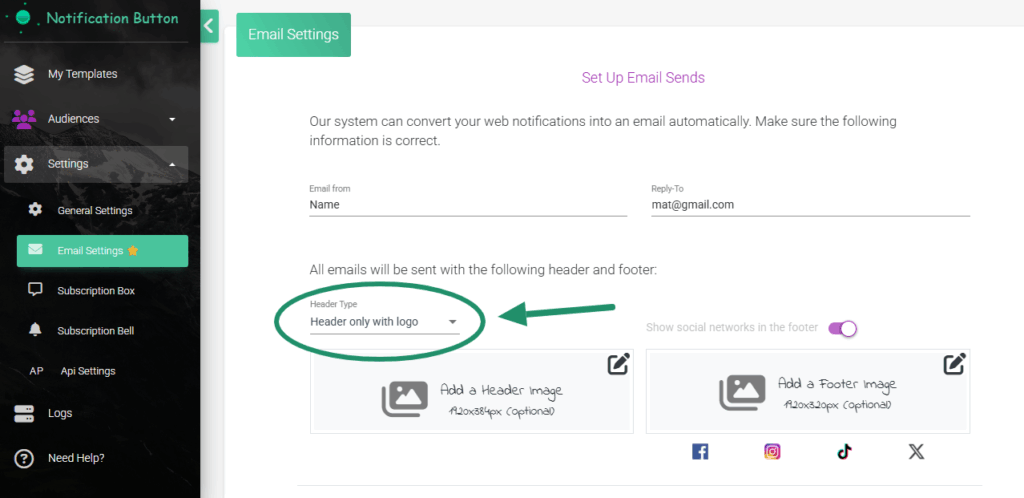
- To configure the header, click “Header Type” and select whether you want only the logo or an image.
- Then upload the image you want in the header. The recommended size is 1920×384 pixels.
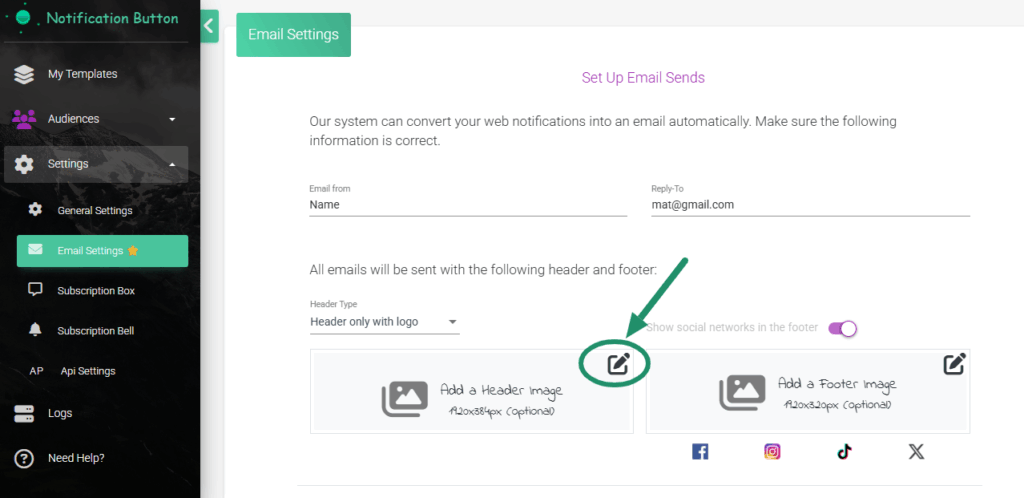
- Next, set up your footer by adding the image you want for it. The recommended size in this case is also 1920×384 pixels.
- Click “Save” and you’re done.
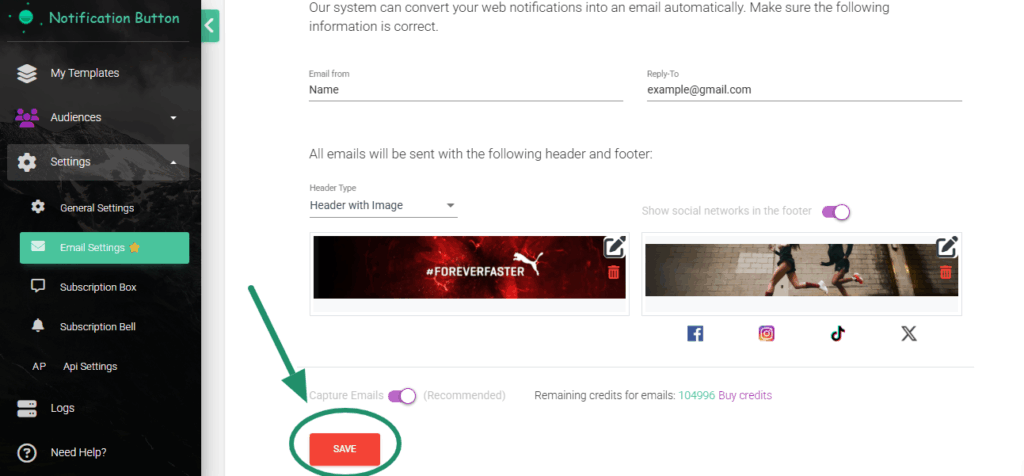
Once you save the changes, the platform will automatically apply this design to all emails that come from your account. You don’t need to edit each campaign separately.
An email with a thoughtful design and clear links to your social media looks more legitimate and professional. Small details like these make your communications stand out.
How to define the header: logo or full image
You can choose between two header styles: a centered logo or a panoramic image that takes up the full width of the email. If you opt for the full image, the recommended size is 1920×384 pixels to ensure that it looks sharp on all devices.
How to design the ideal footer
The footer is where you can reinforce your brand and guide customers toward additional actions. Just like the header, the recommended image size is 1920×384 pixels. Here you can include links to social media.
A good footer balances utility and design. This improves the user experience and increases the chances that they will interact with your brand outside of the inbox.
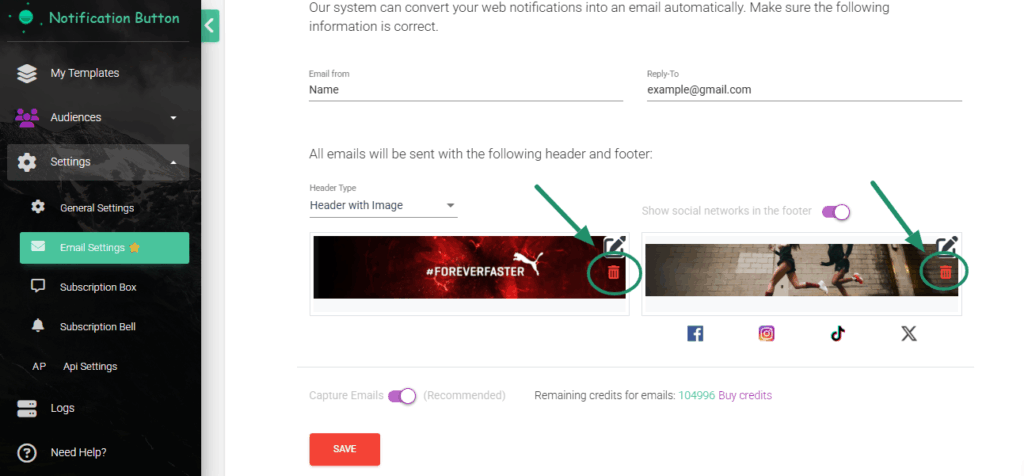
How do I delete or swap the images?
If you need to update your header or footer, return to the email settings section. There you’ll find your images already configured along with a delete button. Just click it to delete the image, and then you can configure a new image.
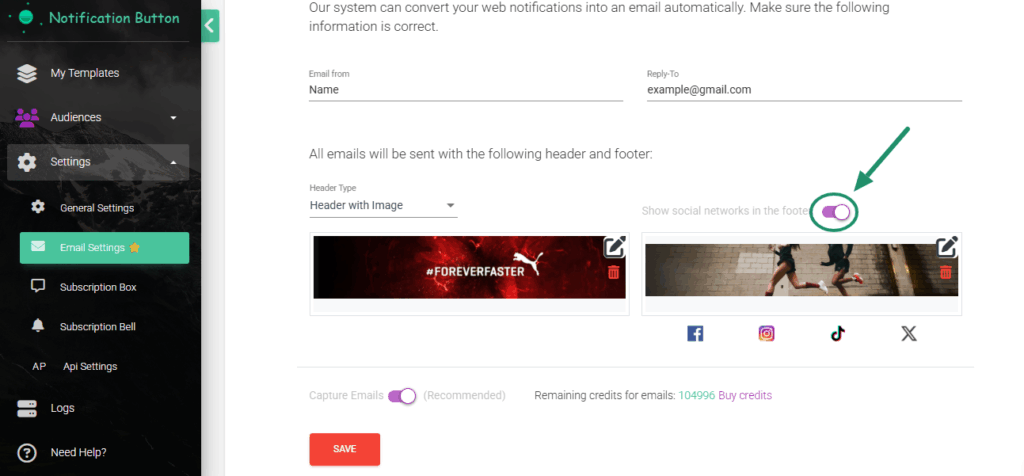
Add your social media in one step
On the footer tab, you’ll see a slider button labeled “Show social media at the end”. When you activate it, the icons for your social media accounts will automatically appear in the footer.
This is how your emails will look
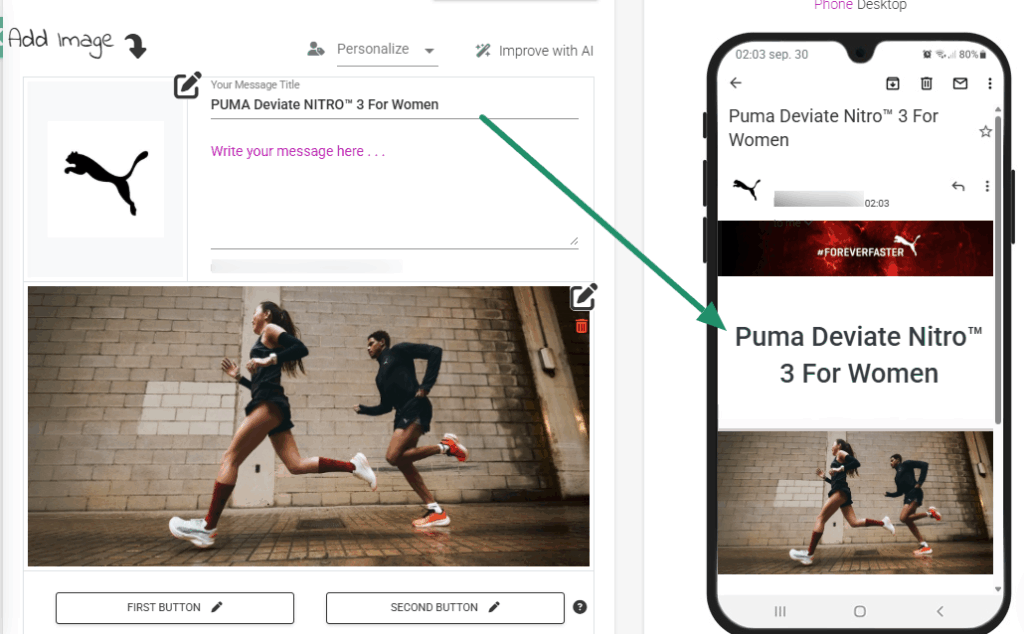
Now your emails will look much more professional and complete. The header will appear at the top, followed by the specific content of each email.
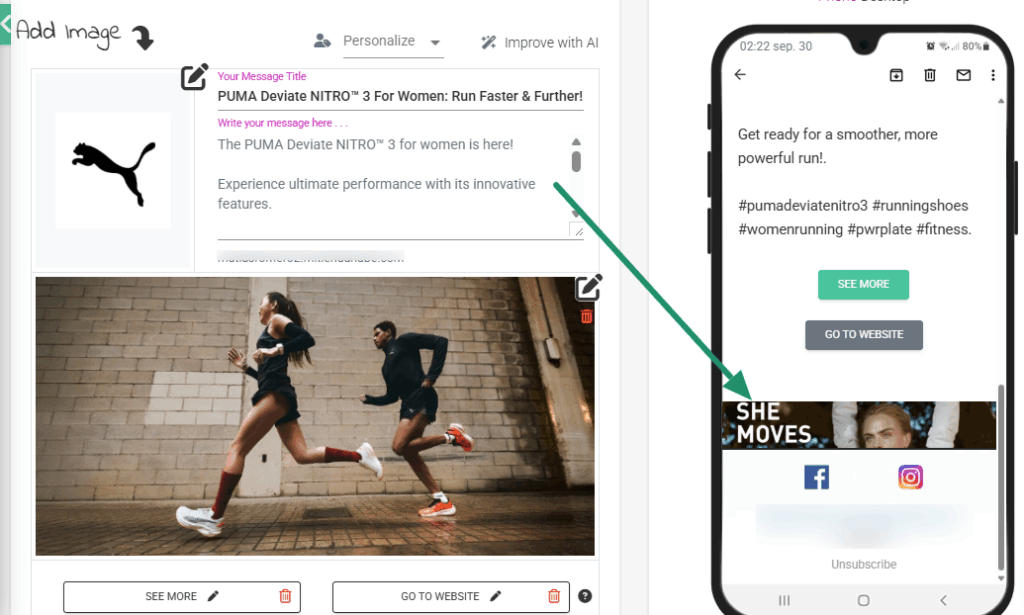
And the footer will close the message accompanied by your social media.


